‘How do I start making visual note-taking a practice?’
During the Visual Skills Summer Fest Slovenia a participant asked me this question. There is a difference between how to make the noting a practice and the practicing taking meaningful visual notes.
Today I’ll lay out the 7 steps you can follow to when integrating the practice of of taking visual notes during your coaching sessions. And if you don’t coach anyone, but take notes during conversations and want to share them with your conversation partner(s), these steps aren’t really different.
Why I think it is important to first understand these 7 steps, is because you first create the path to succeed in your attempt. I am sure there are people who don’t need to know these steps, they just need to know how to take visual notes. If you think you might give up on your practice, then this post is for you!
Follow these steps in the right order and give yourself a fair chance to succeed in your attempt to start taking visual notes.

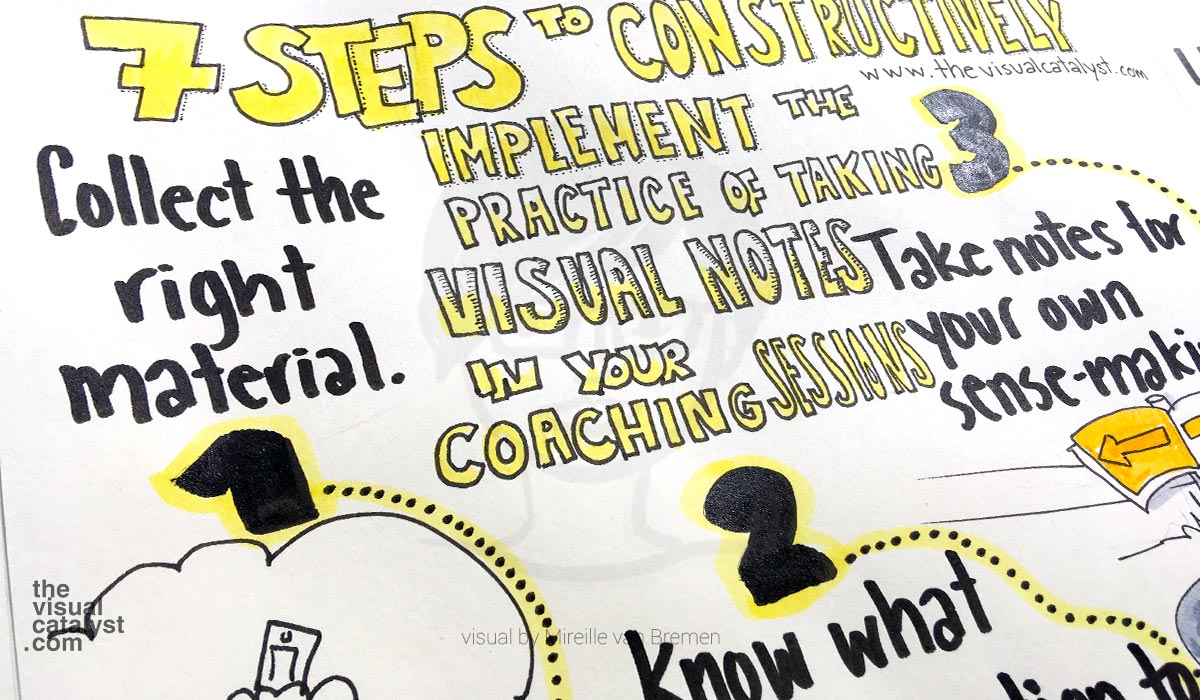
The 7 steps to constructively implement the practice of taking visual notes during coaching sessions
STEP 1 – COLLECT THE RIGHT MATERIALS
STEP 2 – KNOW WHAT TO PAY ATTENTION TO WHEN TAKING NOTES
STEP 3 – TAKE NOTES JUST FOR YOUR OWN SENSE MAKING
STEP 4 – CONTINUE TO IDENTIFY YOUR LEARNING EDGE
STEP 5 – CHALLENGE YOURSELF IN DEVELOPING YOUR VISUAL NOTE-TAKING SKILLS
STEP 6 – START TAKING NOTES FOR YOUR COACHEE
STEP 7 – ASK FOR FEEDBACK AND INTEGRATE IT
MAIN INSIGHTS
- 1 > Collect the right working material
- 2 > Know what to pay attention to when taking notes
- 3 > Take notes just for your own sense making
- 4 > Continue to identify your learning edge
- 5 > Challenge yourself in developing your skill
- 6 > Start taking notes for your coachee
- 7 > Ask for feedback and integrate it
Do you have a sense like these steps are doable for you?
Are you going to give it a try anyway?
Or if you already take visual notes during your coaching sessions, from which step can you still take advances?
Do you learn because you share knowledge with others and (want to) use digital presentations?
After this free program, the response of your audience on your webinar, meeting, workshop, lecture, training (video’s), won’t be the same!

8 Facets of Brilliant Digital Presentations
Create slides more effectively!

My name is MIREILLE VAN BREMEN
I believe that with empathy, clarity and transparency in our communication, we experience and reach more understanding, connection, inclusion, participation, leadership, creativity and trust in our relationships, communities and society.
My clients hire me to design infographics & visual summaries, illustrations and visual tools.
My participants join the online and live communication programs in my Online Training Platform
My programs help to increase impact by communicating both empathically and visually.